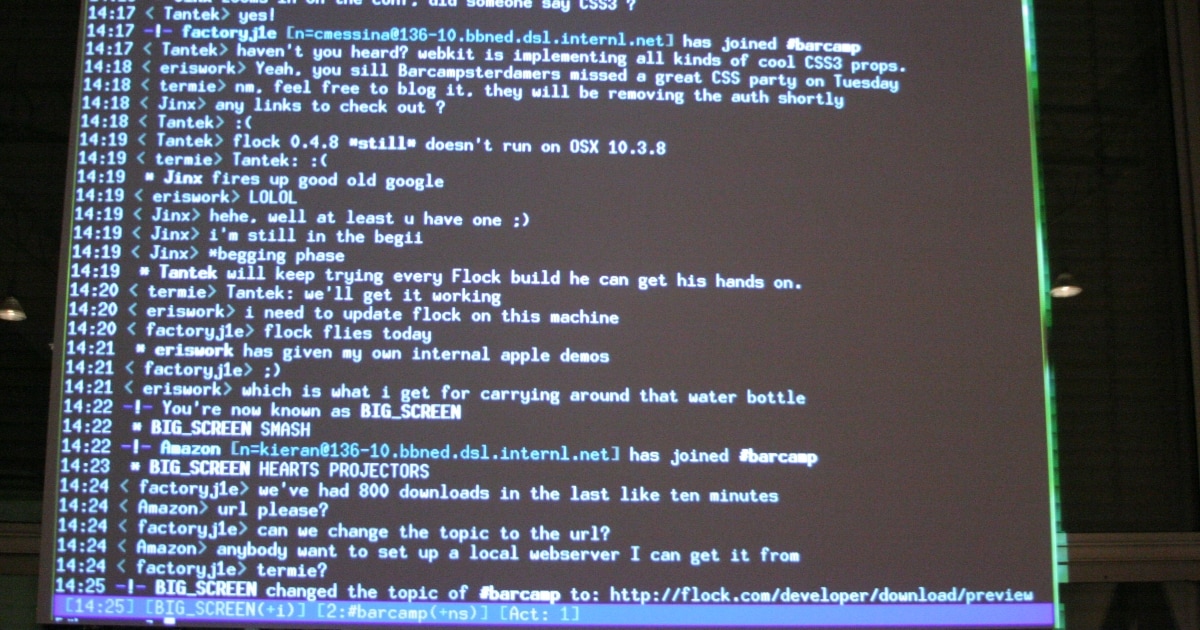
A few months ago I wrote about sending notifications to Rocket.Chat. While that messaging tool is quite powerful, one may also prefer to keep it simple. So let’s also address the good old IRC.
No test system? No problem!
Setting up an IRC daemon is pretty easy:
- Clone this Git repository
- Change into the freshly cloned directory
- Run
docker-compose up(you need docker-compose in addition to Docker itself)
Once the Docker image has been built and the container is up and running, you should see something like this:
ngircd_1 | [1:6 1] Now listening on [0.0.0.0]:6667 (socket 11).
ngircd_1 | [1:6 1] Now listening on [0.0.0.0]:6668 (socket 12).
ngircd_1 | [1:6 1] Now listening on [0.0.0.0]:6669 (socket 13).
ngircd_1 | [1:6 1] Now listening on [0.0.0.0]:6697 (socket 14).
ngircd_1 | [1:6 1] Now listening on [0.0.0.0]:9999 (socket 15).
Actually docker-compose exposes just :6667 (plain text) and :6697 (TLS). Both require authentication, luckily the container already includes some credentials:
- icinga:icinga (for Icinga 2 notifications)
- jdoe:jdoe (for you)
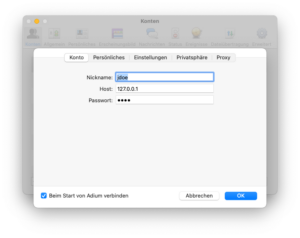
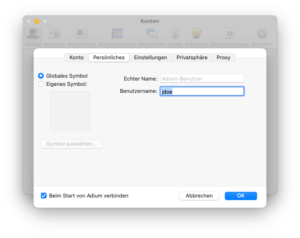
Add the second account to your preferred IRC client, don’t forget to set both the nickname (jdoe) and the username (jdoe):
Configure an already existing system
If your production IRCd requires authentication (I hope), it will need an account for Icinga 2 for sending notifications in addition to the notification recipients.
The following text assumes the same credentials as the test system shown above (icinga:icinga) as well as nicks being equal to user names.
Configure the Icinga 2 side
Notification plugin
Download a plugin of your choice – e.g. my notify_irc – to /etc/icinga2/scripts/notify_irc.
Icinga 2 notification command
Register the plugin in Icinga 2 with a NotificationCommand object.
Icinga 2 notifications
Create an apply rule and set checkable custom vars:
object User "jdoe" { }

apply Notification "irc-host" to Host {
        command = "irc"
        users = host.vars.notification_irc
        vars.irc_url = "ircs://icinga:icinga@127.0.0.1/direct/$user.name$?insecure=1"
        assign where host.vars.notification_irc
}

object Host "icinga.com" {
        check_command = "hostalive"
        address = "icinga.com"
        vars.notification_irc = [ "jdoe" ]
}
This allows you to add User objects and their names to host custom vars as you wish. Remember: the first icinga in icinga:icinga is the username (authentication) and jdoe is a nickname!
object User "jdoe" { }

object User "rroe" { }

object Host "icinga.com" {
        check_command = "hostalive"
        address = "icinga.com"
        vars.notification_irc = [ "jdoe", "rroe" ]
}
You likely wish to also notify services. To not duplicate the credentials you can use a template:
template Notification "irc" {
        vars.irc_url = "ircs://icinga:icinga@127.0.0.1/direct/$user.name$?insecure=1"
        command = "irc"
}

apply Notification "irc-host" to Host {
        import "irc"
        users = host.vars.notification_irc
        assign where host.vars.notification_irc
}

apply Notification "irc-service" to Service {
        import "irc"
        users = service.vars.notification_irc || service.host.vars.notification_irc
        assign where service.vars.notification_irc || service.host.vars.notification_irc
}
In this case services don’t even need to have their own notification_irc custom var. If it’s absent, that of the host is used.
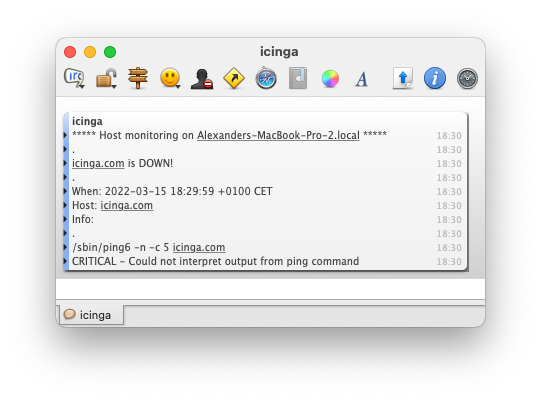
It works!
OK, the monitoring of icinga.com still doesn’t work, but the notification arrives. Fine.
Too old school? Too advanced?
Also check our NETWAYS colleague’s guide on XMPP/Jabber notifications and mine on Rocket.Chat notifications. The same way Icinga 2 monitors your entire infrastructure Icinga 2 can notify over your entire infrastructure: via plugins and commands.
If there’s no plugin on Icinga Exchange for your messaging tool yet and you hesitate to write it by yourself, contact us. If something has a machine interface for sending messages, Icinga 2 can use it as notification channel, I promise.

