About one year ago the NETWAYS colleagues showed you how to let Icinga 2 notify users through XMPP/Jabber. Now it’s time to also cover the somewhat more fancy Rocket.Chat.
No Rocket.Chat? No problem!
Setting up a test system is pretty easy:
- Clone this Git repository
- Change into the freshly cloned directory
- Run
docker-compose up(you need docker-compose in addition to Docker itself)
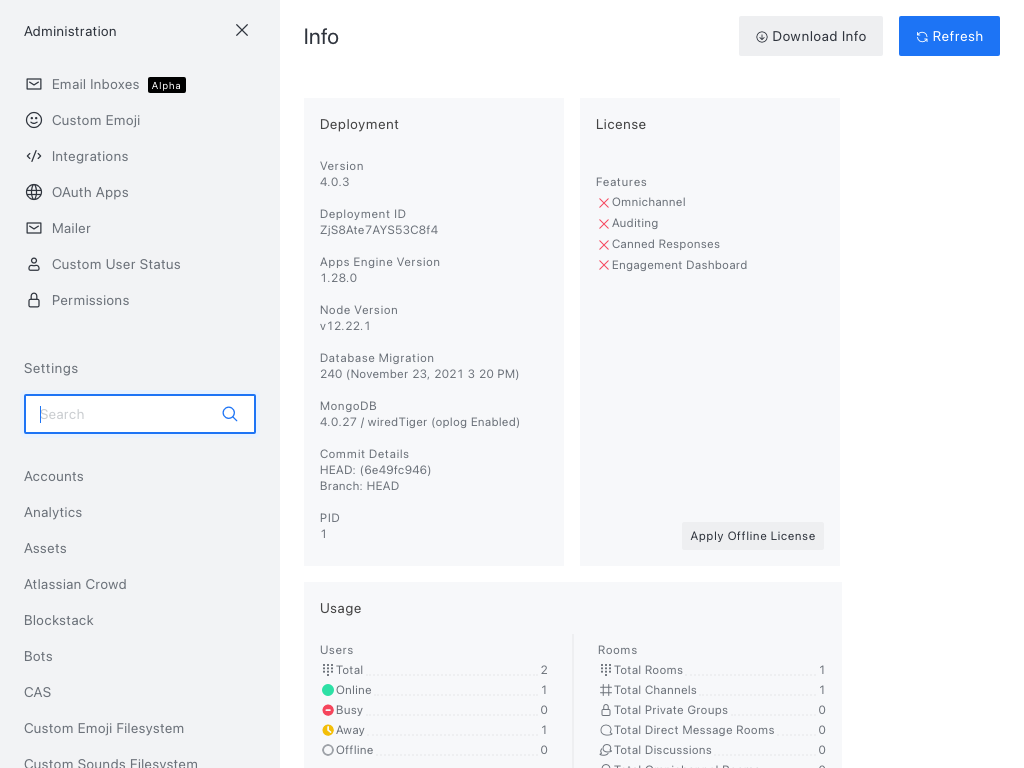
Once Rocket.Chat and its database are initialised, you should see something like this:
rc_1     | +----------------------------------------------+
rc_1     | |                SERVER RUNNING                |
rc_1     | +----------------------------------------------+
rc_1     | |                                              |
rc_1     | |  Rocket.Chat Version: 4.0.3                  |
rc_1     | |       NodeJS Version: 12.22.1 - x64          |
rc_1     | |      MongoDB Version: 4.0.27                 |
rc_1     | |       MongoDB Engine: wiredTiger             |
rc_1     | |             Platform: linux                  |
rc_1     | |         Process Port: 3000                   |
rc_1     | |             Site URL: http://localhost:3000  |
rc_1     | |     ReplicaSet OpLog: Enabled                |
rc_1     | |          Commit Hash: 6e49fc9466             |
rc_1     | |        Commit Branch: HEAD                   |
rc_1     | |                                              |
rc_1     | +----------------------------------------------+
Now you can visit the Site URL and actually set it up:

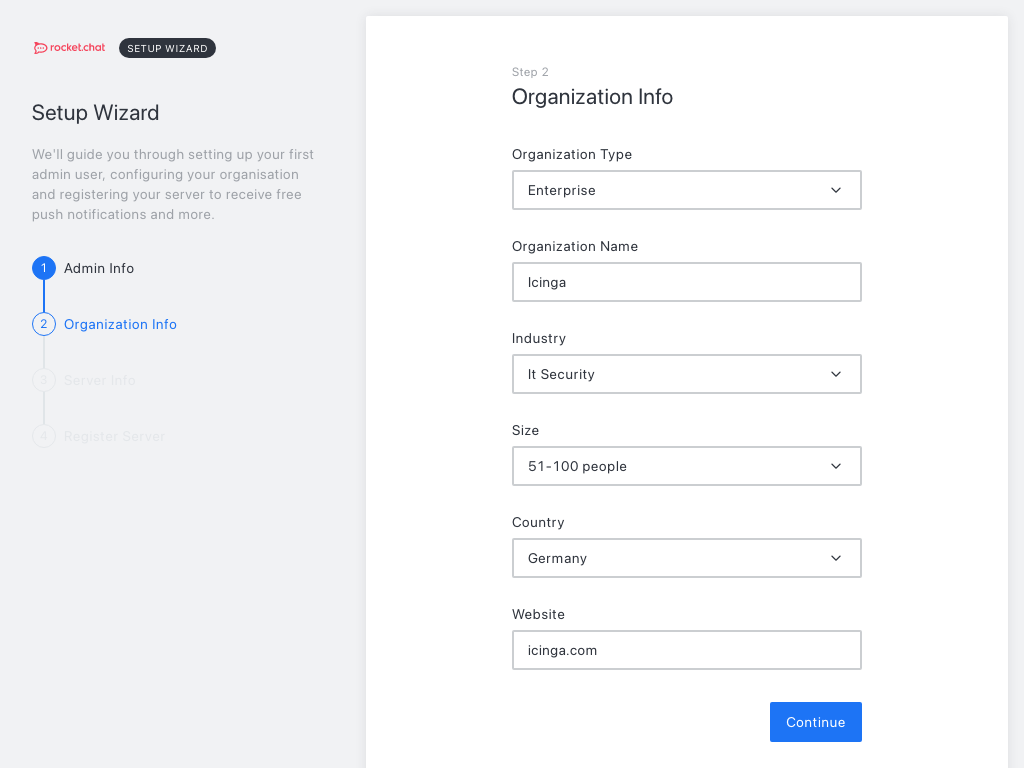
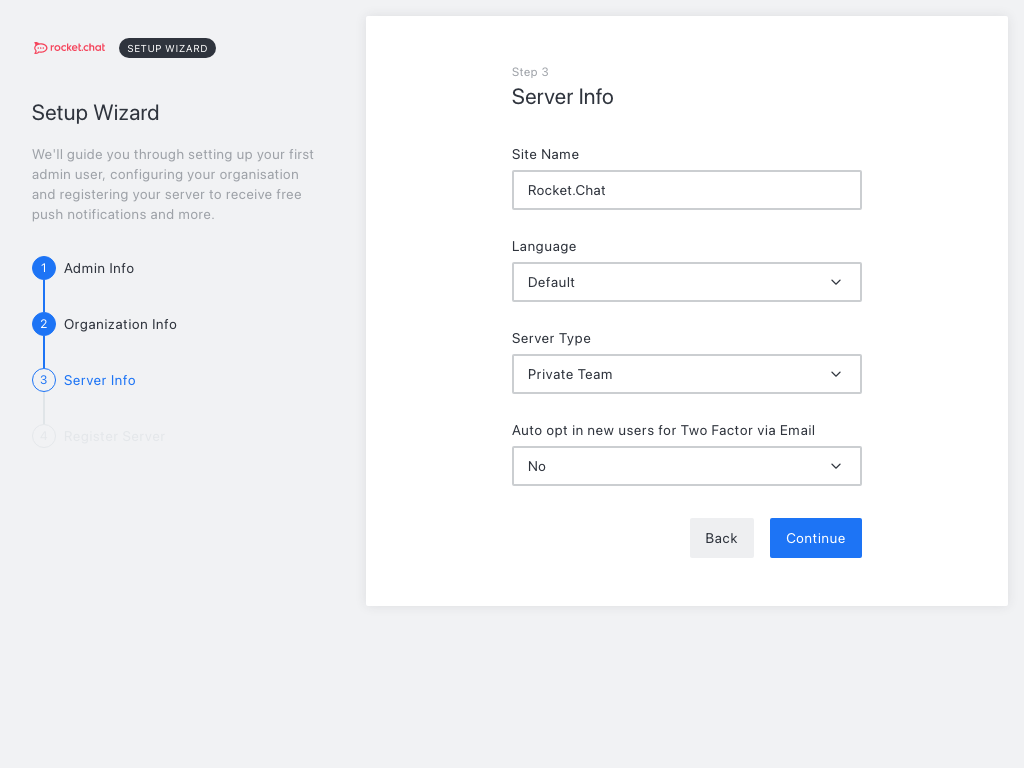
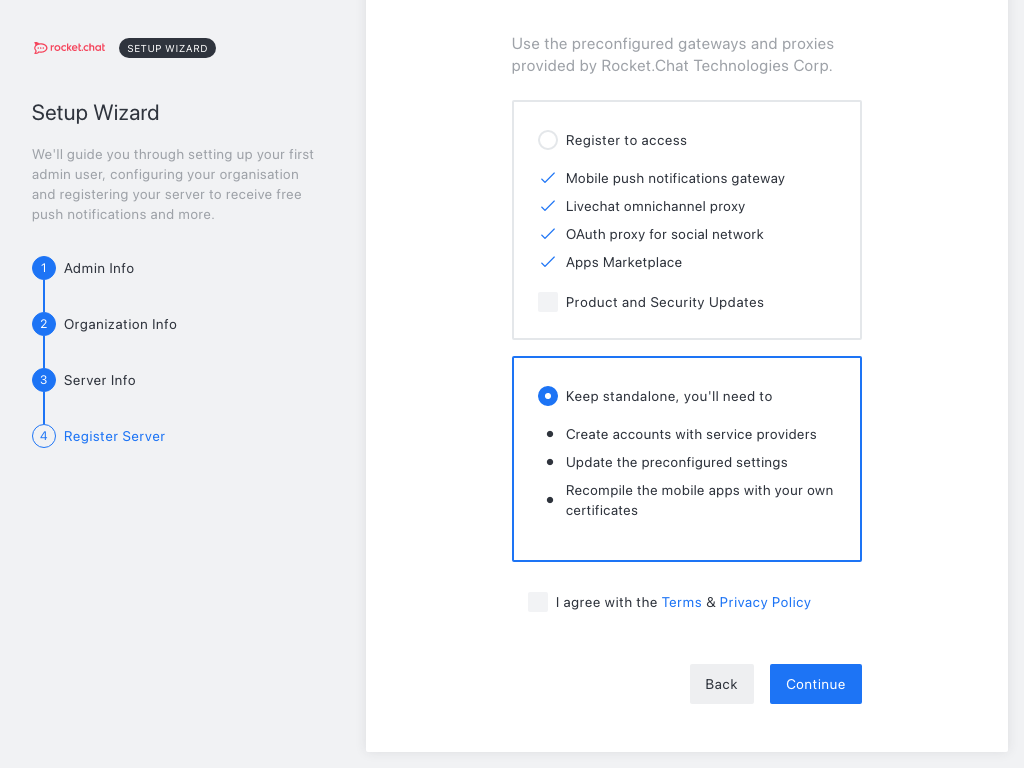


Configure the Rocket.Chat side
New channel
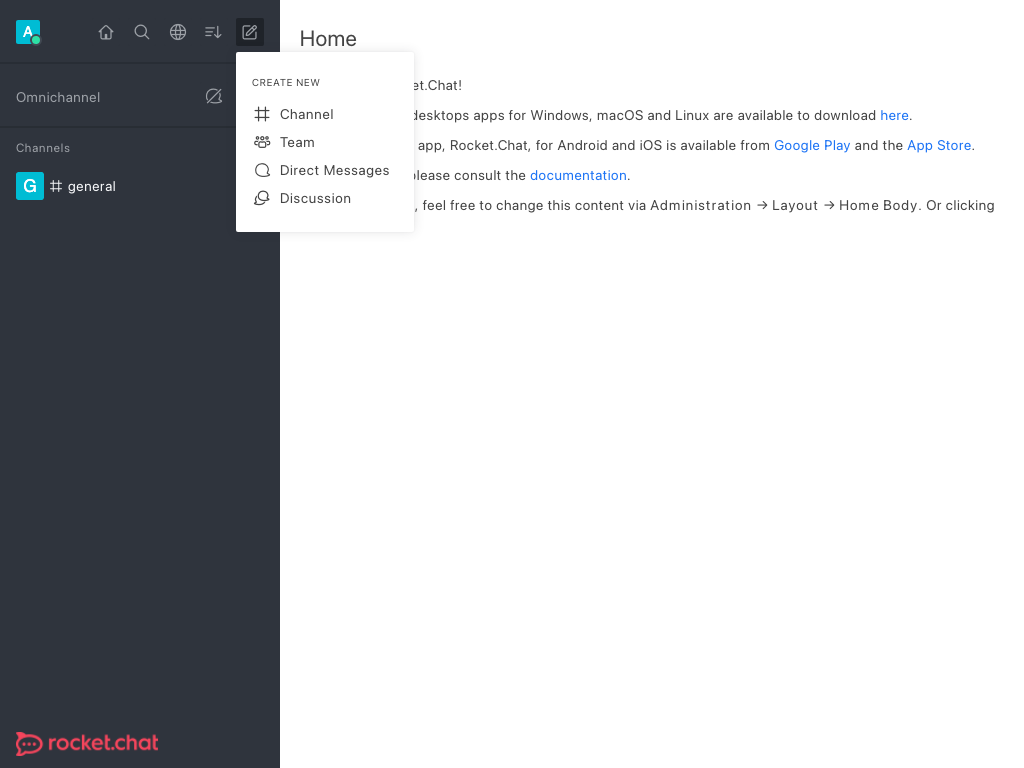
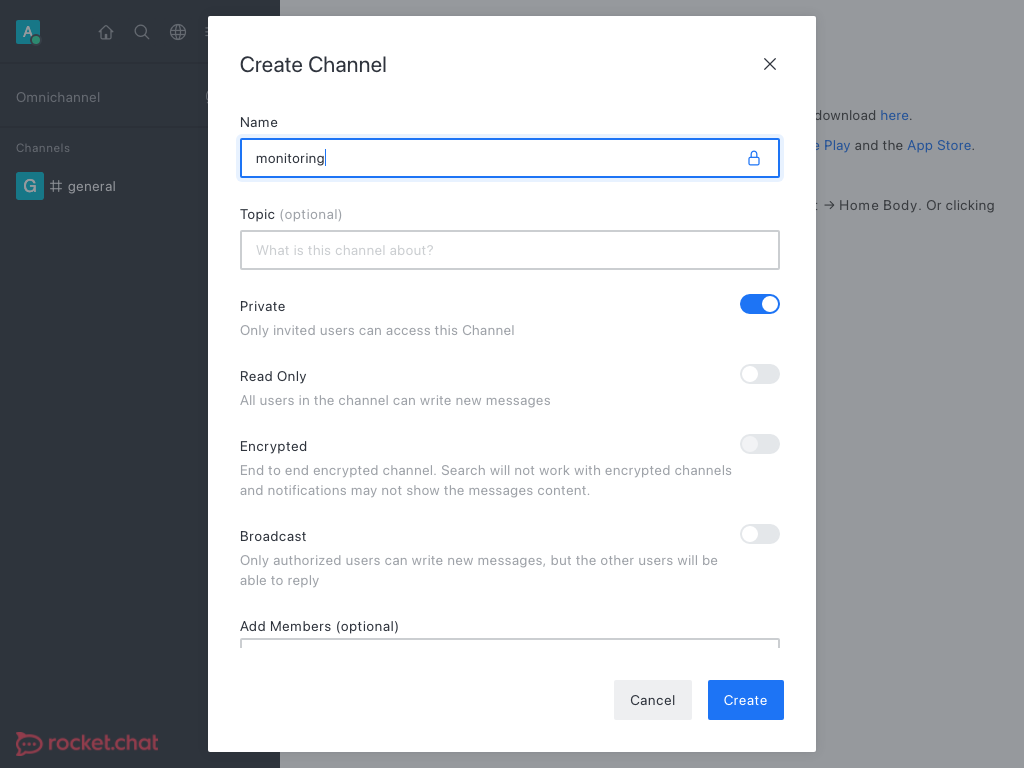
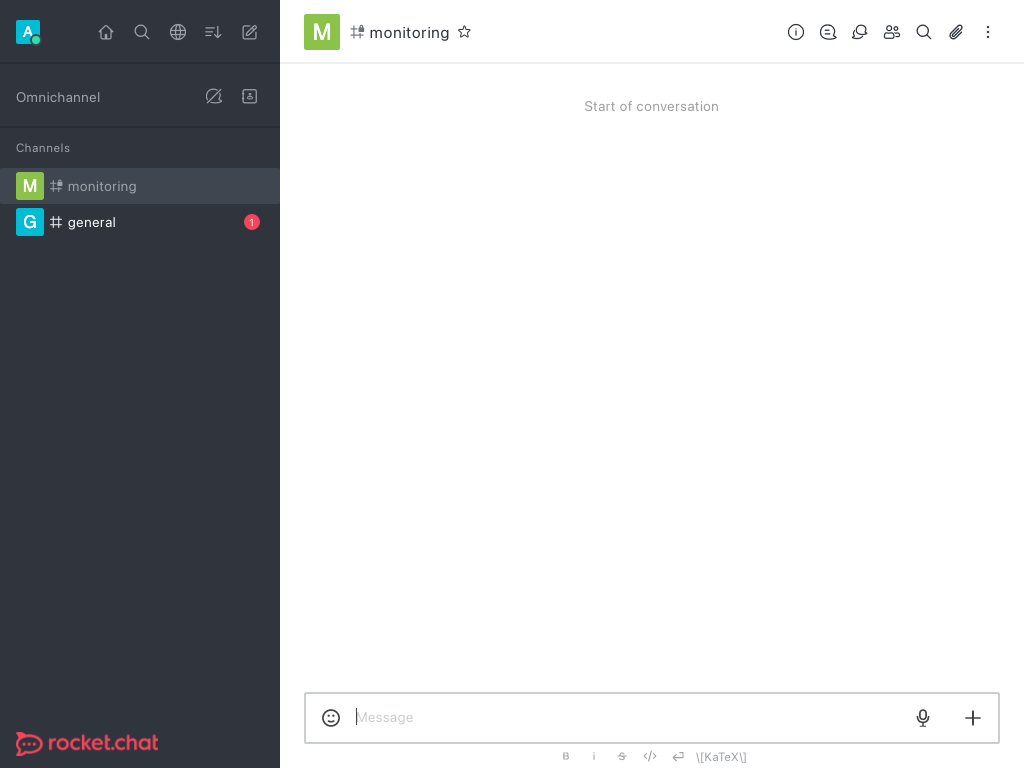
This channel will receive Icinga 2 notifications as messages. You’ll be able to easily add/remove its members.
New user
(Navigate to Administration / Users.)
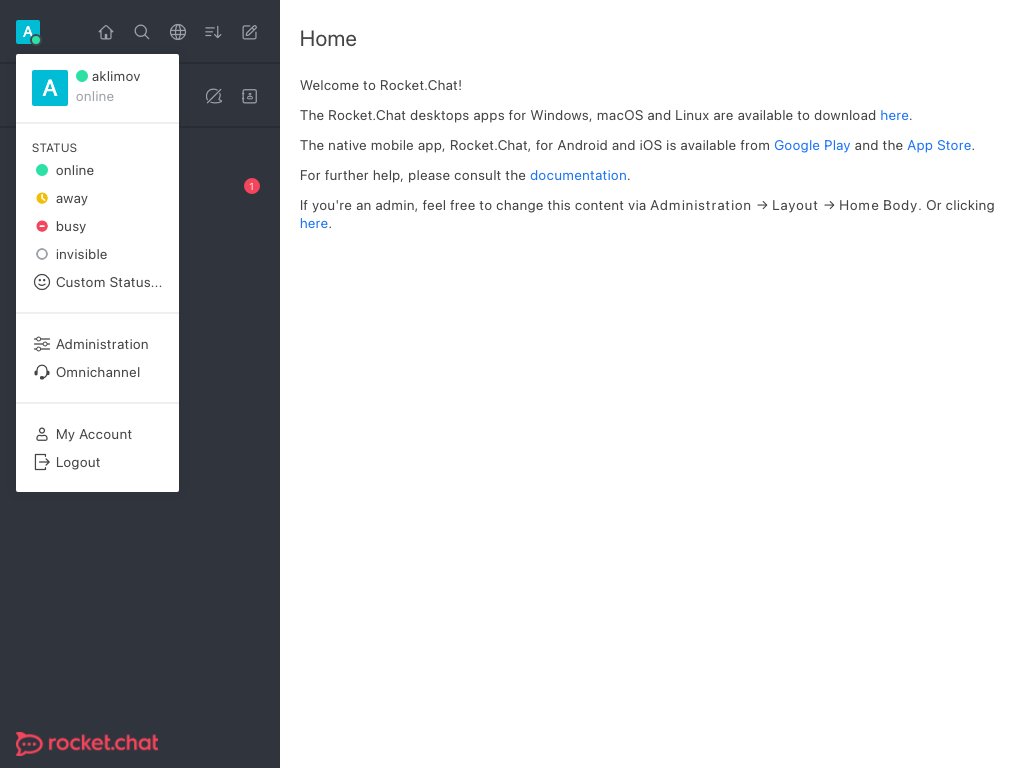
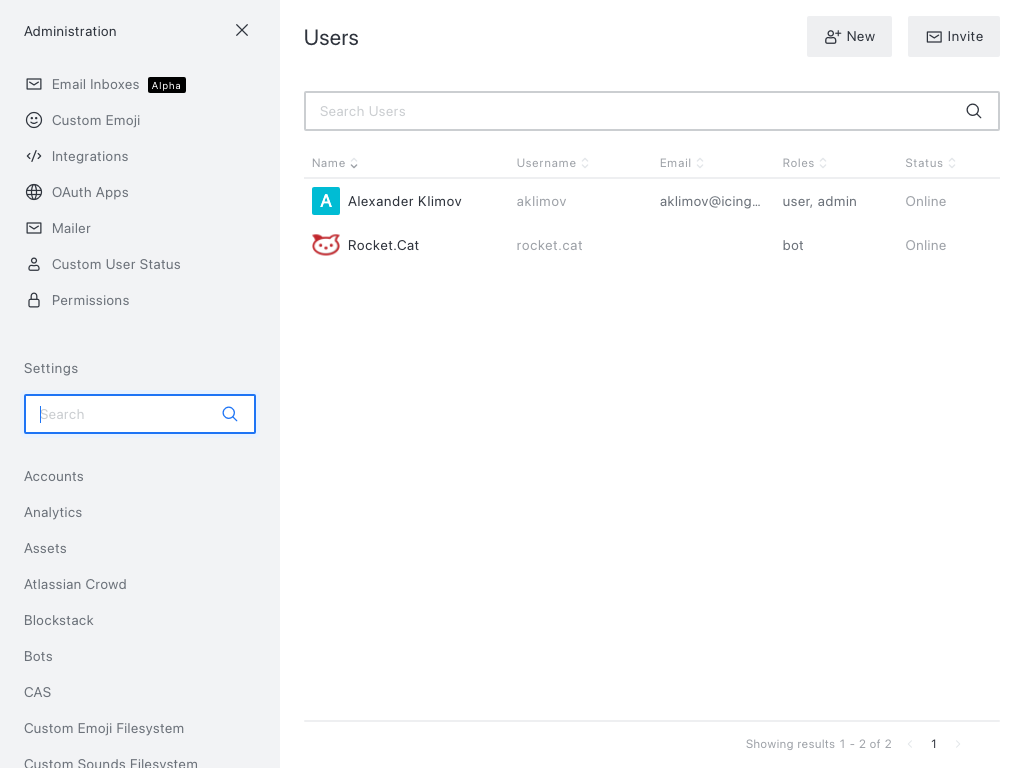
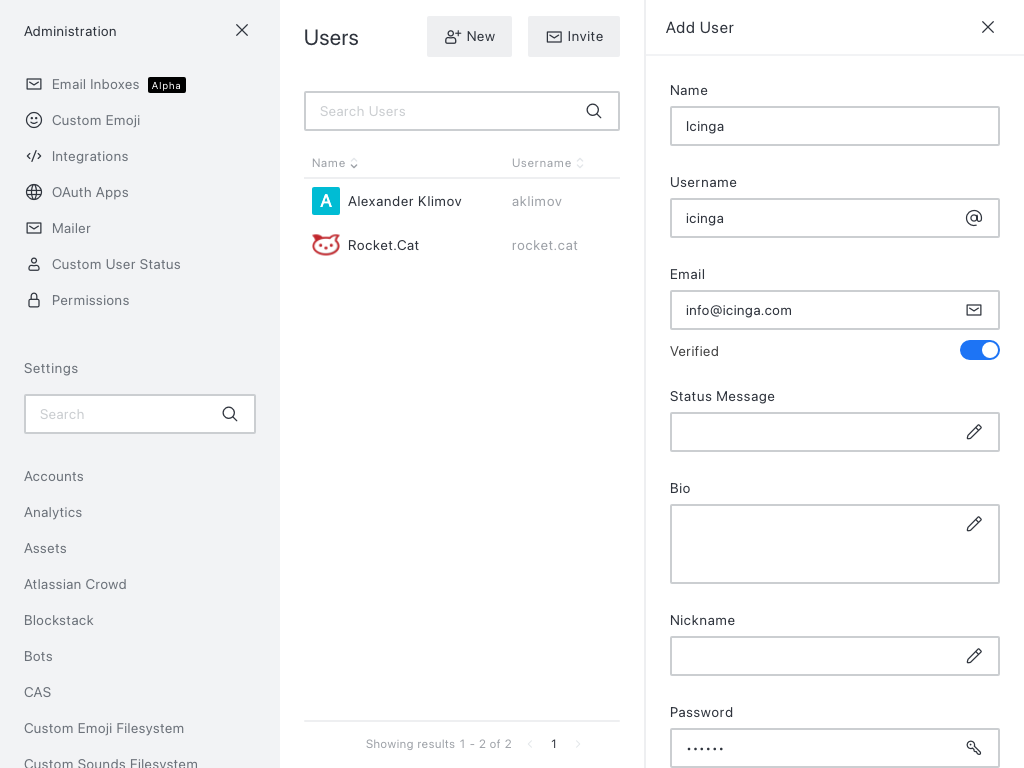
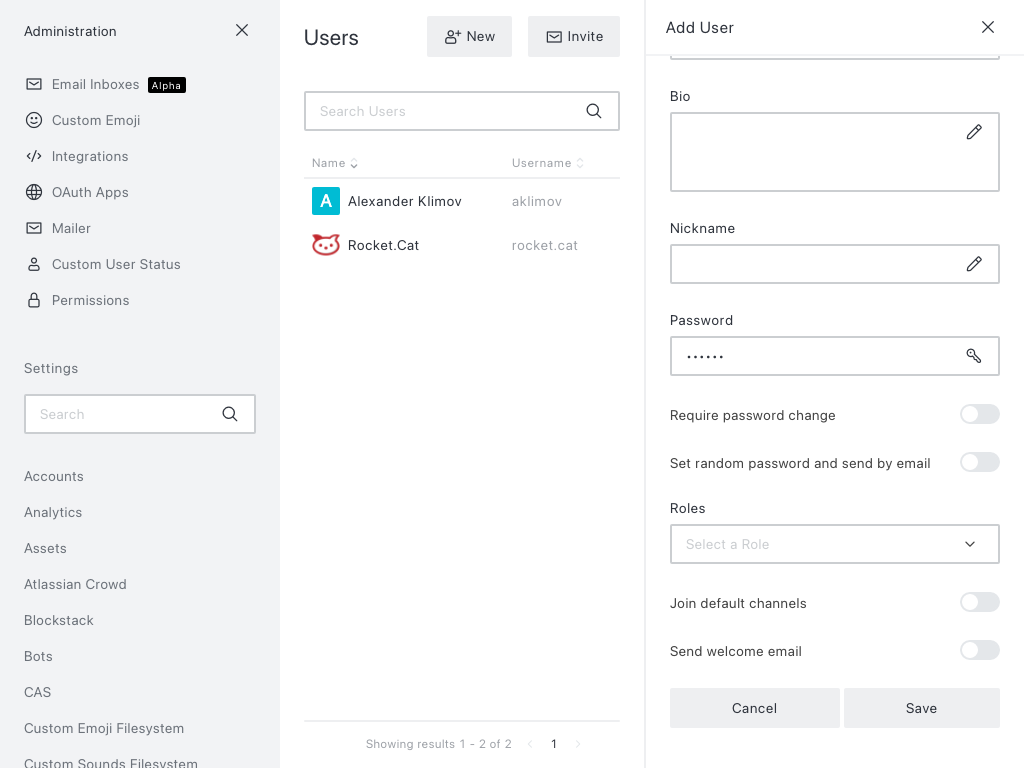
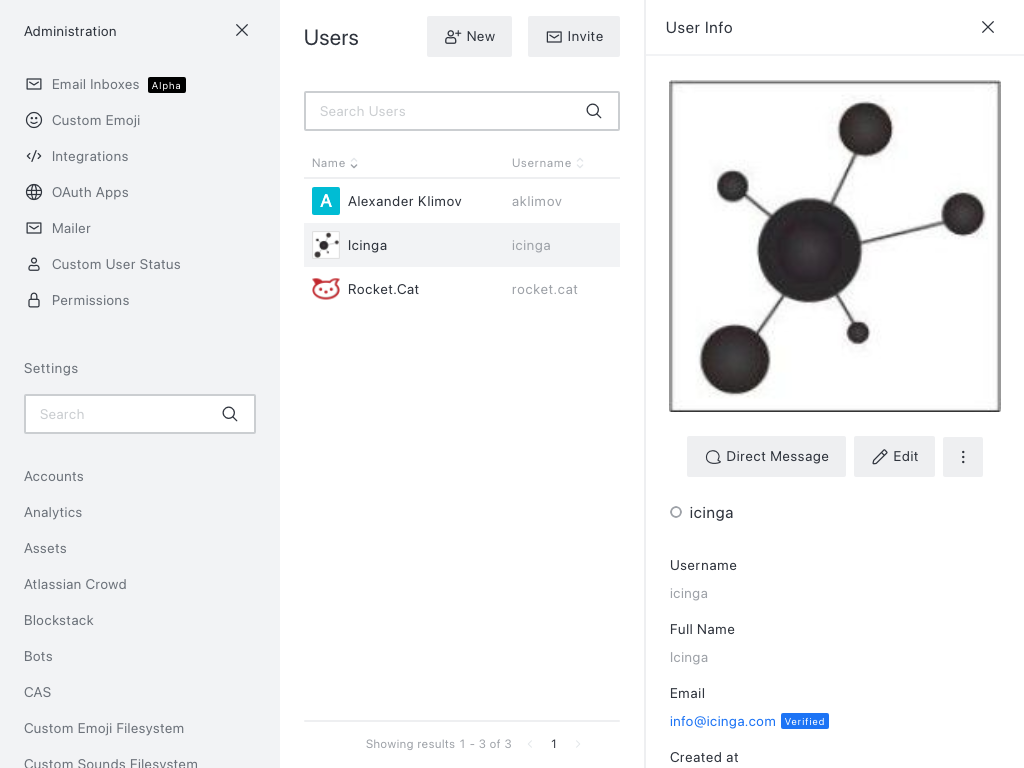
This user will post messages into the channel.
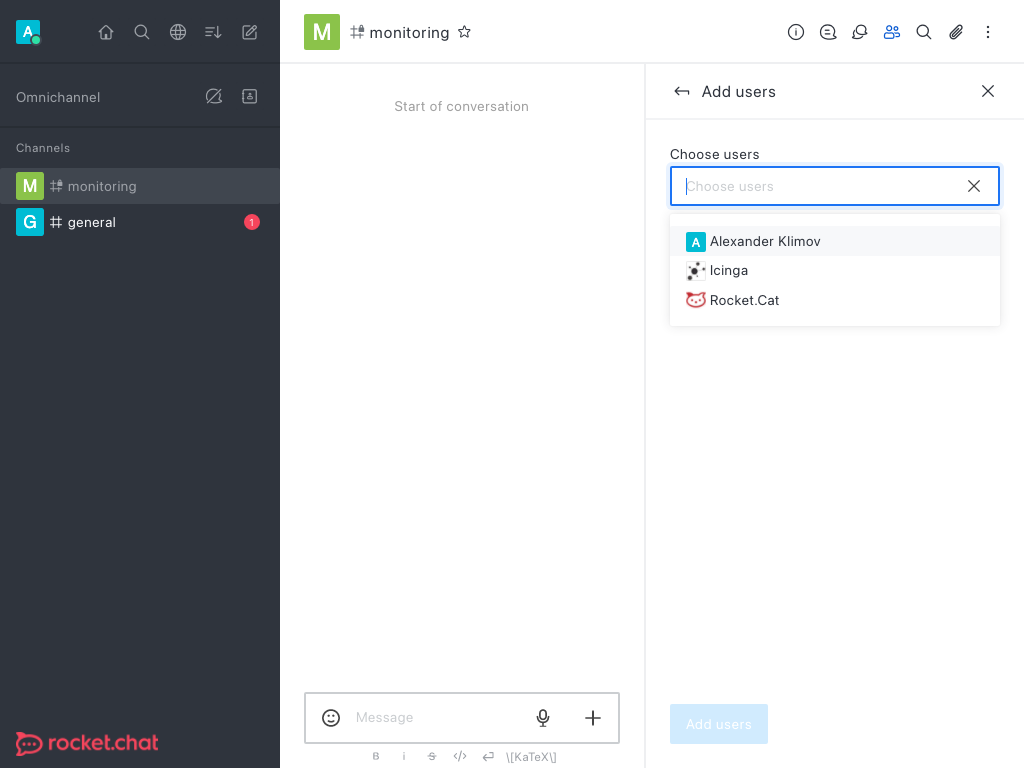
Add user to channel
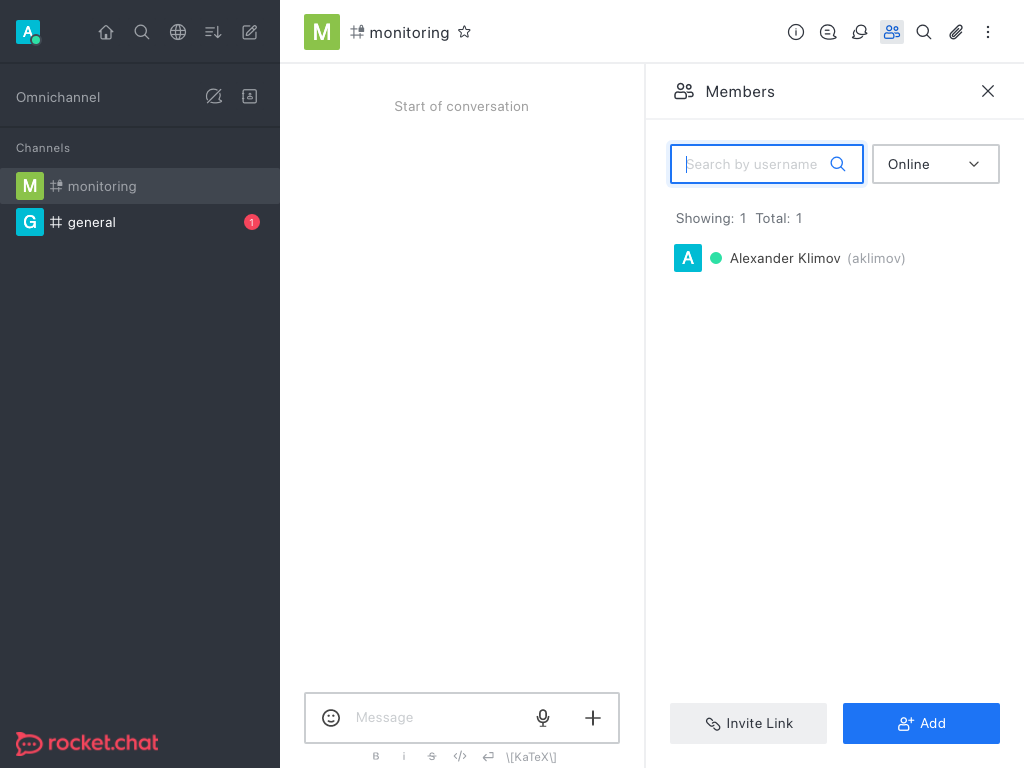
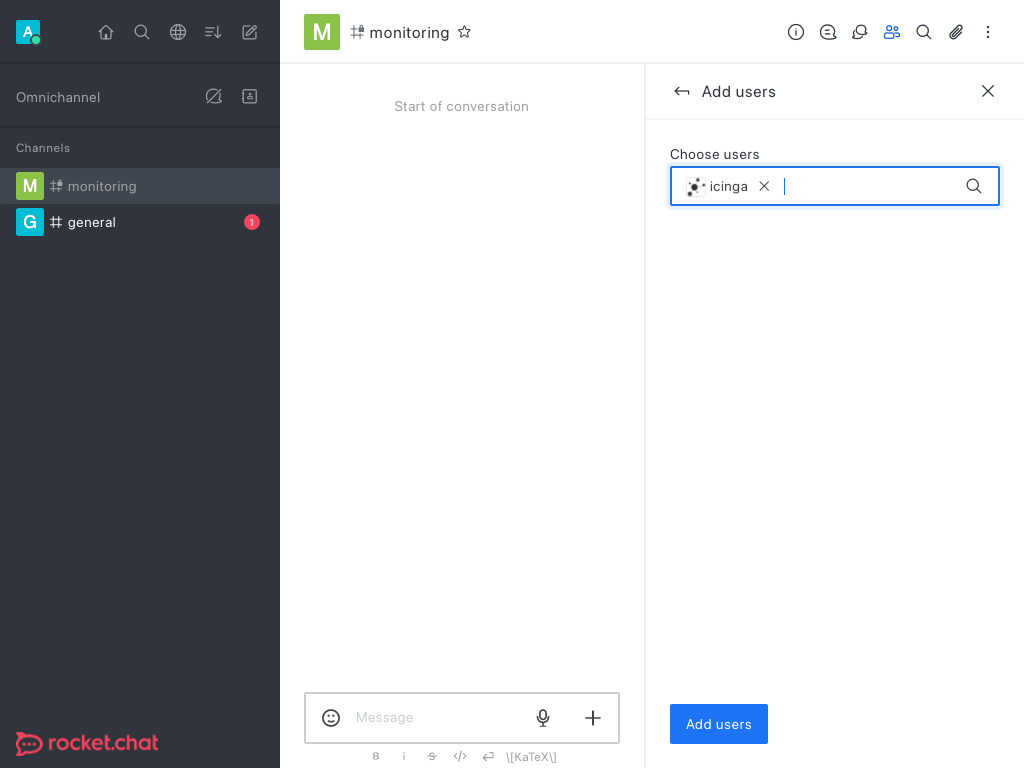
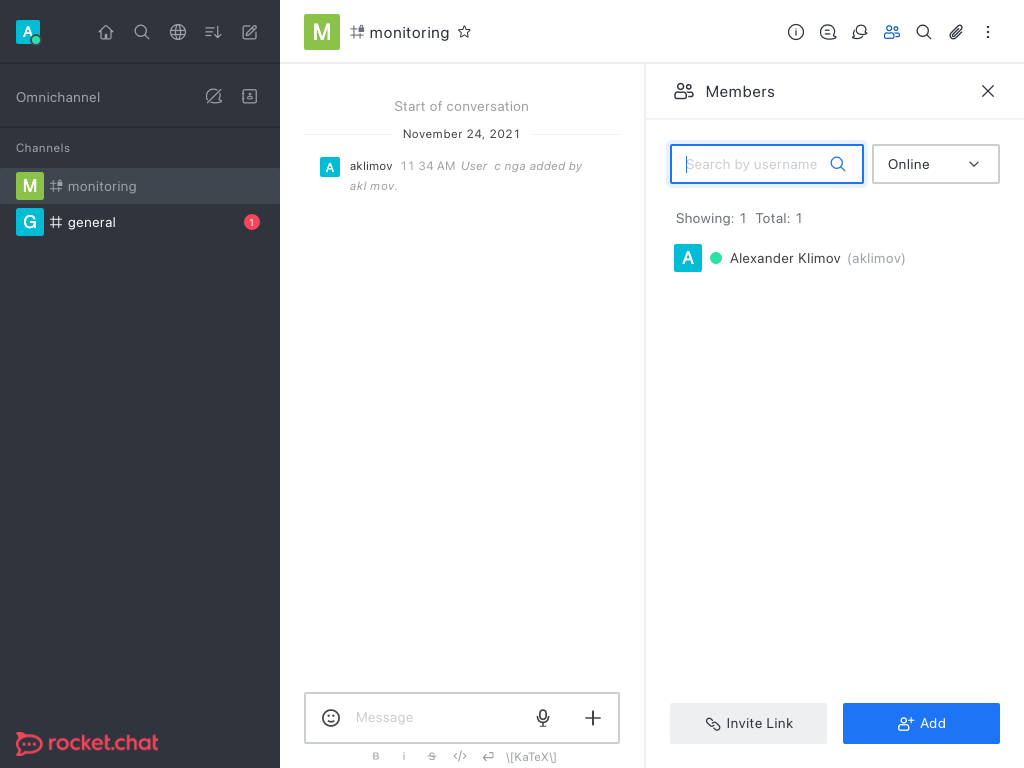
Otherwise the webhook URL (read on) will respond like this:
HTTP/1.1 400 Bad Request
(...)

{"success":false,"error":"error-not-allowed"}
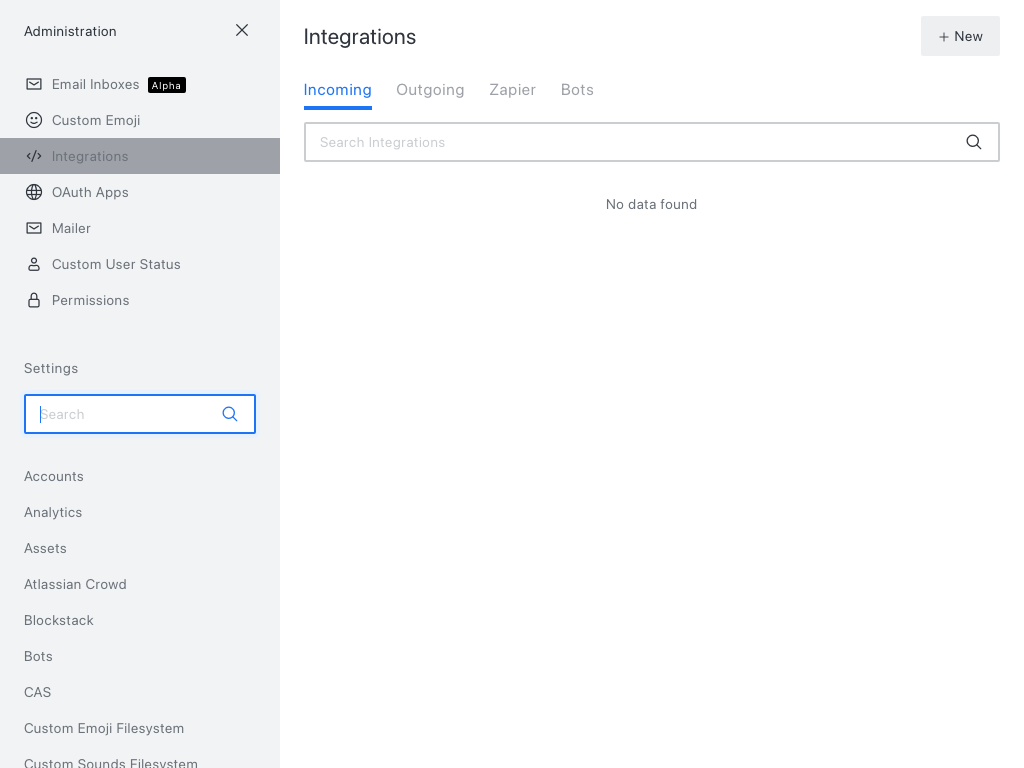
New integration
(Navigate to Administration / Integrations.)
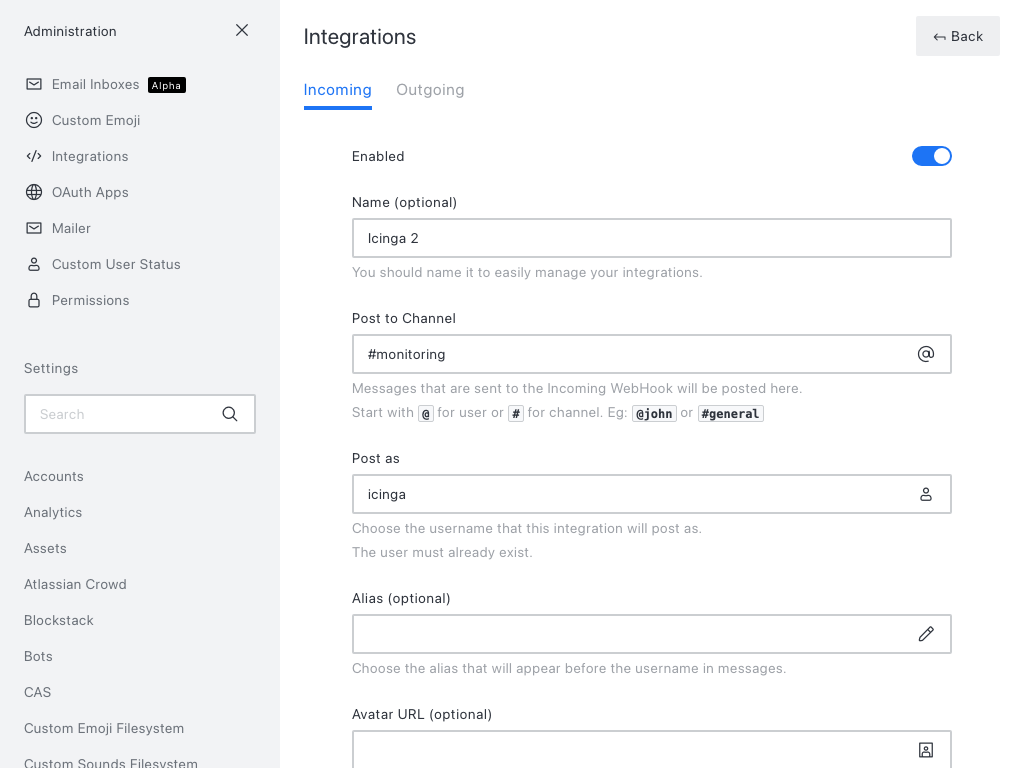
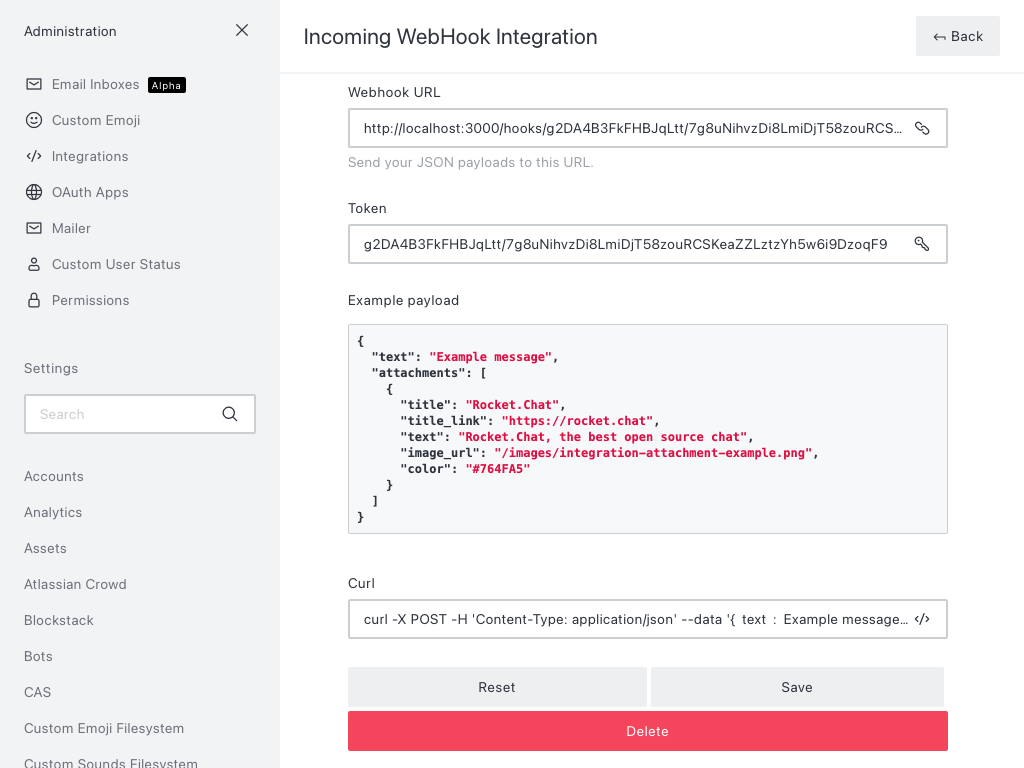
Remember/copy the webhook URL!
Configure the Icinga 2 side
Notification plugin
Download a plugin of your choice – e.g. my notify_rocketchat – to /etc/icinga2/scripts/notify_rocketchat.
Icinga 2 notification command
Register the plugin in Icinga 2 with a NotificationCommand object.
Icinga 2 notifications
Create an apply rule and set checkable custom vars:
object User "dummy" { }

apply Notification "rocketchat-host" to Host {
	command = "rocketchat"
	users = [ "dummy" ]
	vars.rocketchat_webhook_url = "http://localhost:3000/hooks/g2DA4B3FkFHBJqLtt/7g8uNihvzDi8LmiDjT58zouRCSKeaZZLztzYh5w6i9DzoqF9"
	assign where host.vars.notification_rocketchat
}

object Host "icinga.com" {
	check_command = "hostalive"
	address = "icinga.com"
	vars.notification_rocketchat = true
}
If there’s only one channel and one integration, one (dummy) Icinga user should be enough for all notifications. Then you can even hardcode the webhook URL in the apply rule as shown above. In case of multiple apply rules (e.g. Host and Service) you can also move the webhook URL from them into the User object:
object User "dummy" {
	vars.rocketchat_webhook_url = "http://localhost:3000/hooks/g2DA4B3FkFHBJqLtt/7g8uNihvzDi8LmiDjT58zouRCSKeaZZLztzYh5w6i9DzoqF9"
}

apply Notification "rocketchat-host" to Host {
	command = "rocketchat"
	users = [ "dummy" ]
	assign where host.vars.notification_rocketchat
}

apply Notification "rocketchat-service" to Service {
	command = "rocketchat"
	users = [ "dummy" ]
	assign where host.vars.notification_rocketchat
}
In case of multiple channels you’ll need one integration and one Icinga 2 User per channel. You can specify those Icinga 2 Users in Host custom vars, so the apply rule has access to them:
object User "dummy" {
	vars.rocketchat_webhook_url = "http://localhost:3000/hooks/g2DA4B3FkFHBJqLtt/7g8uNihvzDi8LmiDjT58zouRCSKeaZZLztzYh5w6i9DzoqF9"
}

apply Notification "rocketchat-host" to Host {
	command = "rocketchat"
	users = host.vars.notification_rocketchat_users
	assign where host.vars.notification_rocketchat_users
}

object Host "icinga.com" {
	check_command = "hostalive"
	address = "icinga.com"
	vars.notification_rocketchat_users = [ "dummy" ]
}
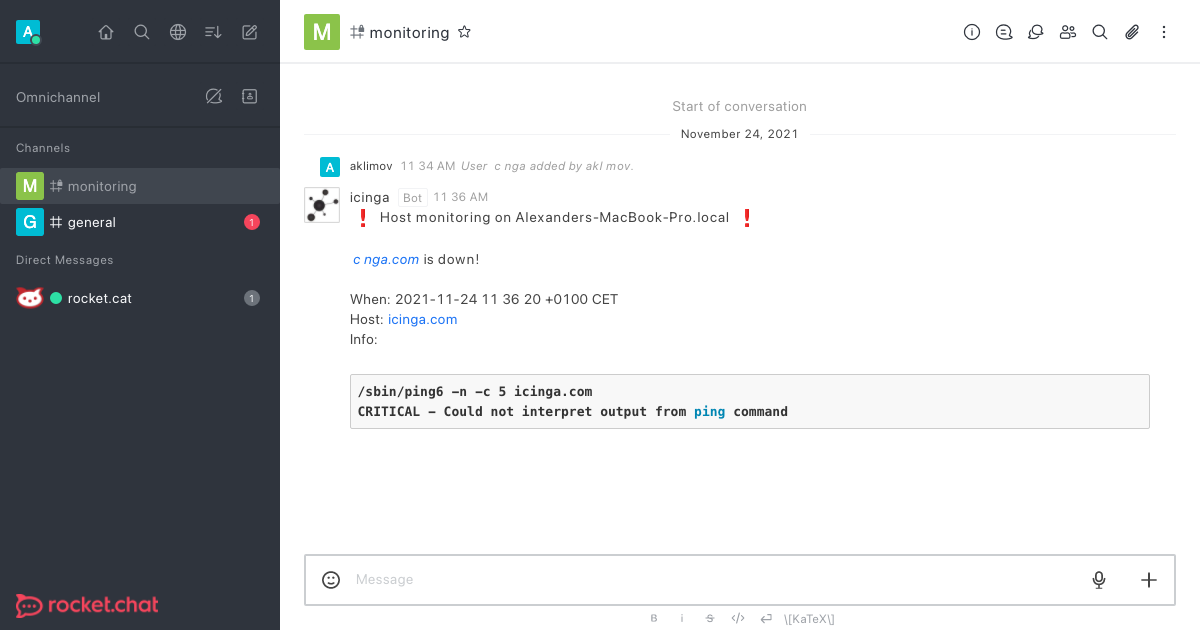
It works!
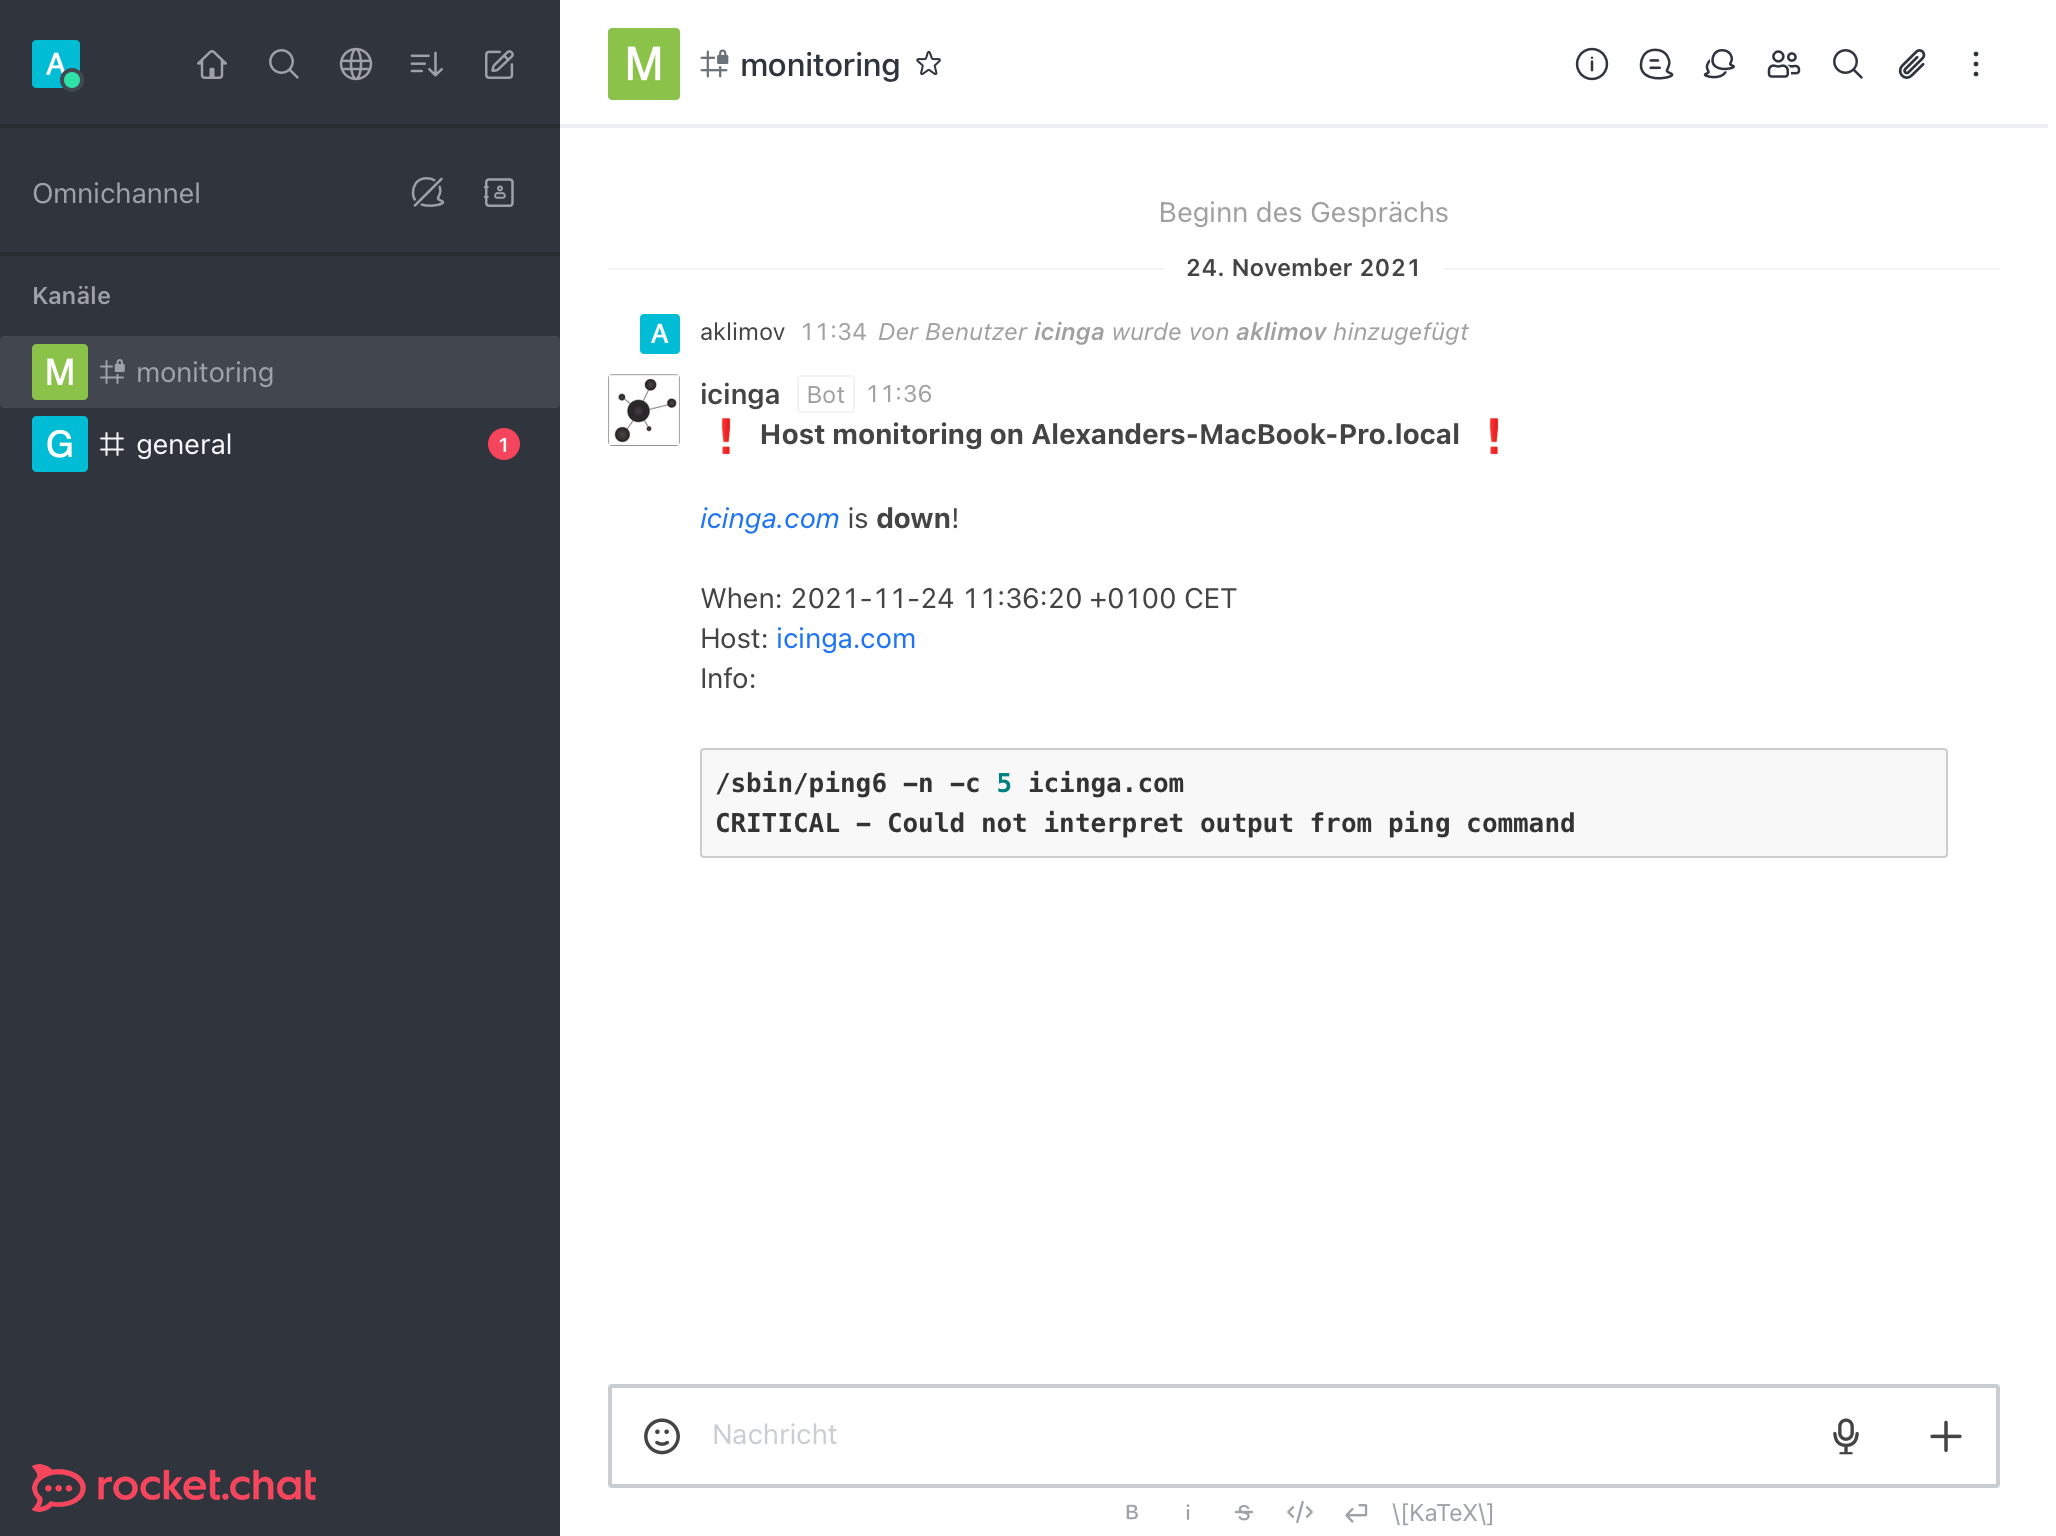
Well.. icinga.com, err, the monitoring of icinga.com doesn’t work, but the notification does. So this is fine for now. 😅
Too self-hosted? Too advanced?
Our colleagues from NWS have both a managed Rocket.Chat and a managed Icinga for you! And the above Icinga config can be also easily assembled in the Director web frontend – we can show you how.