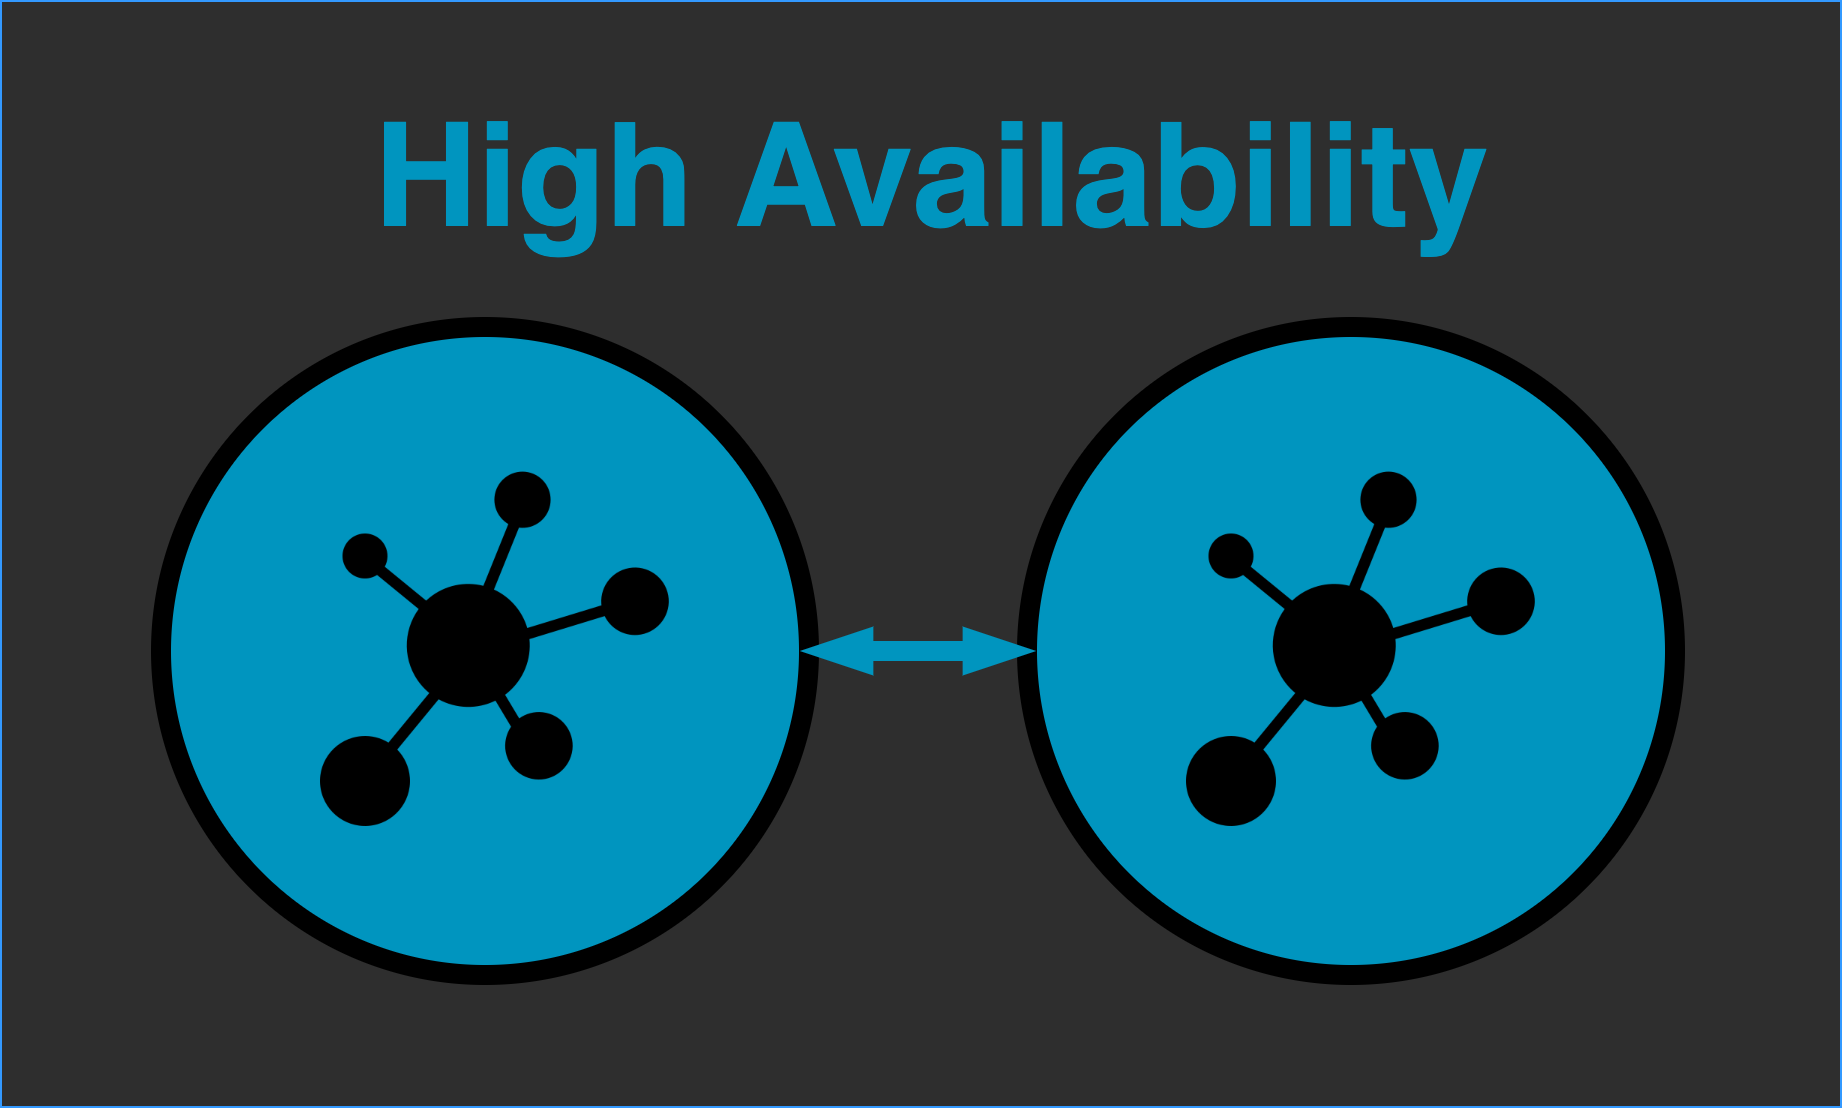
When getting started with Icinga 2, a single master instance is often sufficient. However, if your monitoring is business-critical, you’ll need to set up High-Availability Masters to ensure redundancy and stability. This post will guide you through the process of configuring Icinga 2 with two masters in HA mode.
Preparing the first master
Before even thinking about two masters, we need to have one master already up and running. The easiest way of doing this, is using the “icinga2 node wizard”.
root@master-1:~$ icinga2 node wizard
Welcome to the Icinga 2 Setup Wizard!

We will guide you through all required configuration details.

Please specify if this is an agent/satellite setup ('n' installs a master setup) [Y/n]: n

Starting the Master setup routine...

Please specify the common name (CN) [master-1]:
Reconfiguring Icinga...
Checking for existing certificates for common name 'master-1'...
Certificates not yet generated. Running 'api setup' now.
Generating master configuration for Icinga 2.
Enabling feature api. Make sure to restart Icinga 2 for these changes to take effect.

Master zone name [master]:

Default global zones: global-templates director-global
Do you want to specify additional global zones? [y/N]: n
Please specify the API bind host/port (optional):
Bind Host []:
Bind Port []:

Do you want to disable the inclusion of the conf.d directory [Y/n]: y
Disabling the inclusion of the conf.d directory...
Checking if the api-users.conf file exists...

Done.

Now restart your Icinga 2 daemon to finish the installation!
After that we can already add the second master to our first masters “zones.conf”:
root@master-1:~$ vim /etc/icinga2/zones.conf
object Endpoint "master-1" {
}

object Endpoint "master-2" {
}

object Zone "master" {
        endpoints = [ "master-1", "master-2" ]
}

object Zone "global-templates" {
        global = true
}

object Zone "director-global" {
        global = true
}
We have added the second master as an endpoint and added it to the endpoints array in the “master” zone. We won’t add a host attribute here, because in our case the second master will connect to the first one. After that you’ll have to reload the first master, to apply the config changes.
Preparing the second master
We’ll start by setting up the second master as a satellite of the first master. That way the setup wizard does all the certificate magic for us. We’ll later change that of course.
root@master-2:~$ icinga2 node wizard
Welcome to the Icinga 2 Setup Wizard!

We will guide you through all required configuration details.

Please specify if this is an agent/satellite setup ('n' installs a master setup) [Y/n]: y

Starting the Agent/Satellite setup routine...

Please specify the common name (CN) [master-2]:

Please specify the parent endpoint(s) (master or satellite) where this node should connect to:
Master/Satellite Common Name (CN from your master/satellite node): master-1

Do you want to establish a connection to the parent node from this node? [Y/n]:
Please specify the master/satellite connection information:
Master/Satellite endpoint host (IP address or FQDN): 10.10.5.1
Master/Satellite endpoint port [5665]:

Add more master/satellite endpoints? [y/N]:
Parent certificate information:

 Version:             3
 Subject:             CN = master-1
 Issuer:              CN = Icinga CA
 Valid From:          Sep 30 07:08:03 2020 GMT
 Valid Until:         Sep 27 07:08:03 2035 GMT
 Serial:              9a:eb:9e:37:b3:77:f2:e4:23:b5:41:fc:68:5c:85:a3:4b:46:56:1e

 Signature Algorithm: sha256WithRSAEncryption
 Subject Alt Names:   master-1
 Fingerprint:         08 01 93 62 0A 5C 52 5B 59 CD 3E EF 73 AD 99 11 FF 50 21 81 4C 44 2E 02 61 04 CC BC 73 6B D2 83

Is this information correct? [y/N]: y

Please specify the request ticket generated on your Icinga 2 master (optional).
 (Hint: # icinga2 pki ticket --cn 'master-2'):

No ticket was specified. Please approve the certificate signing request manually
on the master (see 'icinga2 ca list' and 'icinga2 ca sign --help' for details).
Please specify the API bind host/port (optional):
Bind Host []:
Bind Port []:

Accept config from parent node? [y/N]: y
Accept commands from parent node? [y/N]:

Reconfiguring Icinga...
Disabling feature notification. Make sure to restart Icinga 2 for these changes to take effect.
Enabling feature api. Make sure to restart Icinga 2 for these changes to take effect.

Local zone name [master-2]:
Parent zone name [master]:

Default global zones: global-templates director-global
Do you want to specify additional global zones? [y/N]:

Do you want to disable the inclusion of the conf.d directory [Y/n]:
Disabling the inclusion of the conf.d directory...

Done.

Now restart your Icinga 2 daemon to finish the installation!
After that we can go ahead and edit our “zones.conf”, which should look something like this:
object Endpoint "master-1" {
        host = "10.10.5.1"
        port = "5665"
}

object Zone "master" {
        endpoints = [ "master-1" ]
}

object Endpoint "master-2" {
}

object Zone "master-2" {
        endpoints = [ "master-2" ]
        parent = "master"
}

object Zone "global-templates" {
        global = true
}

object Zone "director-global" {
        global = true
}
Here we’ll just throw out the “master-2” zone and it the “master-2” endpoint to our “master” zone:
object Endpoint "master-1" {
        host = "10.10.5.1"
        port = "5665"
}

object Zone "master" {
        endpoints = [ "master-1", "master-2" ]
}

object Endpoint "master-2" {
}

object Zone "global-templates" {
        global = true
}

object Zone "director-global" {
        global = true
}
After reloading the config, you’ll have done everything needed on the second master.
Signing the certificate on the first master
During the node wizard on the second master, a certificate signing request has been created on the first master. This can be displayed using “icinga2 ca list”:
root@master-1:/$ icinga2 ca list
Fingerprint                                                      | Timestamp                | Signed | Subject
-----------------------------------------------------------------|--------------------------|--------|--------
feb5510ec86a28621ca99ff4cf973c655747998d78147e0e16eb555615e9ce4a | Oct  1 05:42:13 2020 GMT |        | CN = master-2
And signed using “icinga2 ca sign <fingerprint>”:
root@master-1:/$ icinga2 ca sign feb5510ec86a28621ca99ff4cf973c655747998d78147e0e16eb555615e9ce4a
information/cli: Signed certificate for 'CN = master-2'.
After that you won’t even need to restart anything. Just have a look into the first masters logs and watch out for such a log message:
[2020-10-01 07:20:55 +0000] information/JsonRpcConnection: The certificate for CN 'master-2' is valid and uptodate. Skipping automated renewal.
That’s it! You successfully set up High-Availability Masters in Icinga 2. If you’d like to learn more about distributed monitoring, check out the distributed monitoring section in our docs or head to the community forums, if you have specific questions.


