Use plain files as an Import Source
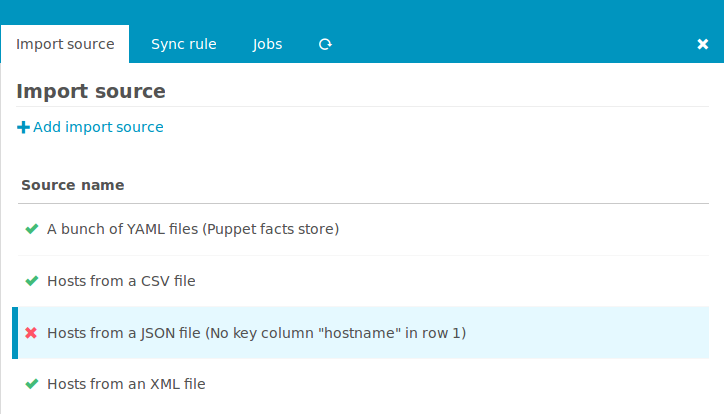
The following screenshot shows a bunch of Import Source definitions defined
in the Icinga Director based on the this module:
Hint: This chapter assumes that you are already familiar with the Icinga Director
Import and Sync mechanism.
Add a new Import Source
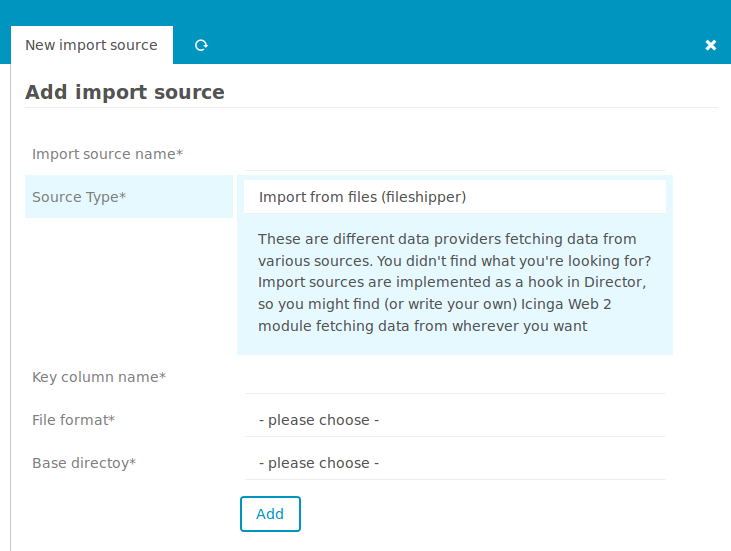
Given that, the next steps should be fairly easy. From the Import Source overview
shown above click Add import source and choose the Import from files option
provided by the fileshipper module:
Choose a File Format
Next opt for a specific File Format:
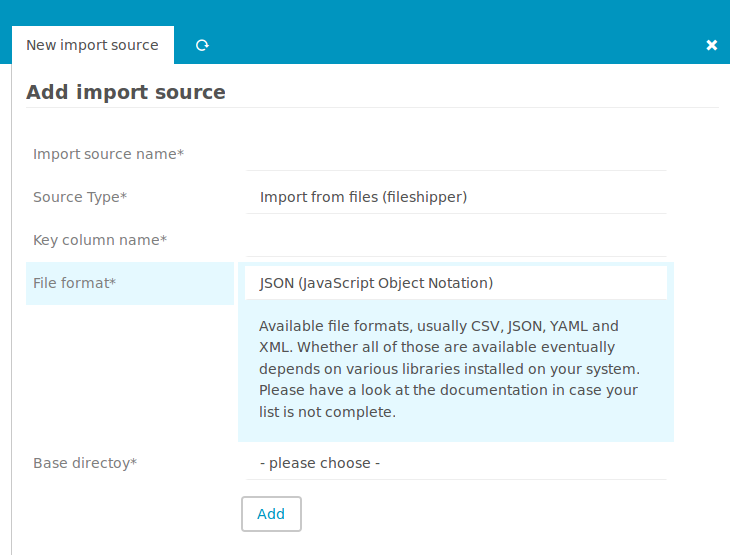
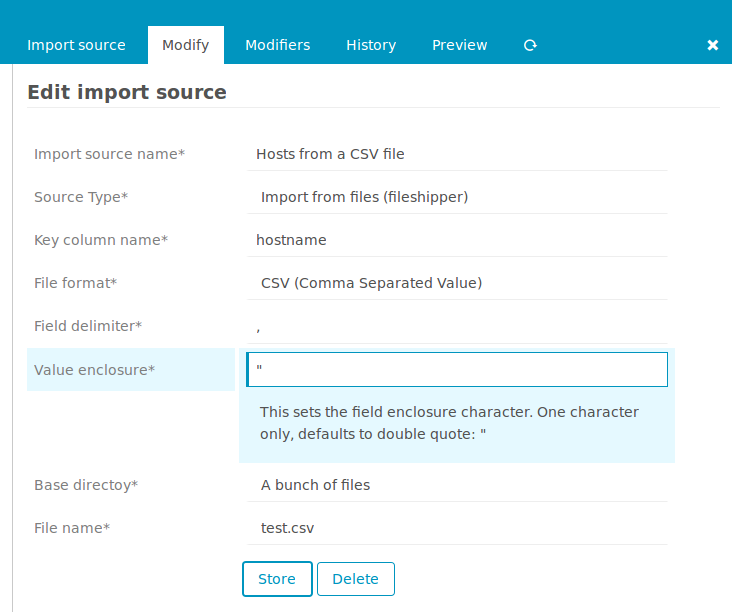
Some file formats may ask for additional settings like the CSV one does:
In case you want to learn more about supported file formats please read the related documentation.
Select Directory and File(s)
You are also asked to choose a Base Directory:
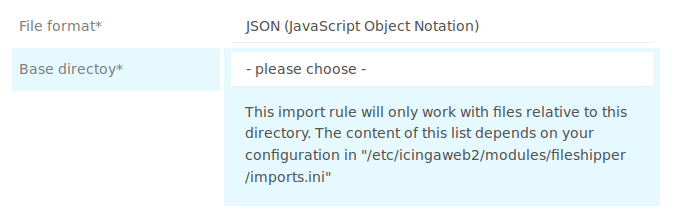
Initially, this list is empty. The module doesn’t allow you to freely choose any
file on your system. You have to provide a safe set of base directories in your
fileshipper‘s module config directory, usually /etc/icingaweb2/modules/fileshipper.
There you need to create an imports.ini that could look as follows:
[A bunch of files]
basedir = "/var/cache/various_files"

[Puppet facts store (YAML directory)]
basedir = "/var/cache/sample-nodes"
Now you are ready to choose a specific file:
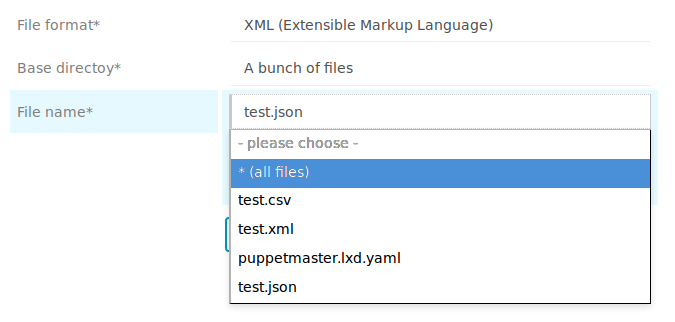
For some use-cases it might also be quite useful to import all files in a given
directory at once:
Special Use Case: Puppet
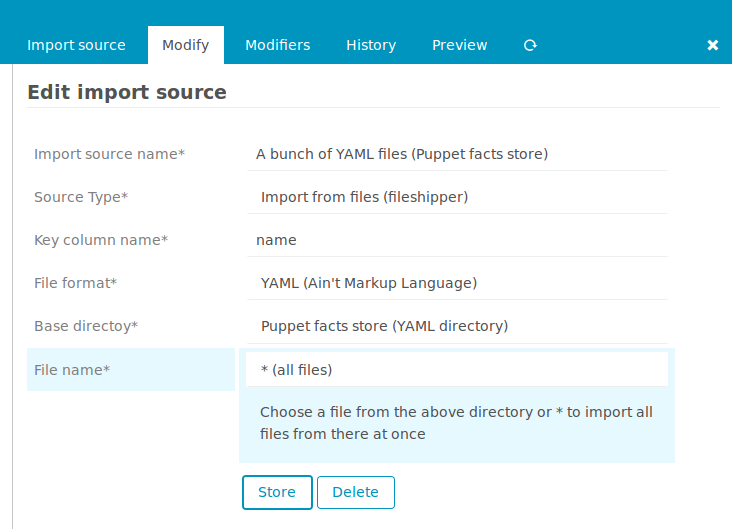
The example on the screenshot has been configured to import all hosts from a
Puppet-based environment. If there where a PuppetDB it would have made more sense
to use the PuppetDB module.
But without such, the facts store on the Puppet Master makes still a good data
source for this task.